Tuesday, January 31, 2006

Get Over It!

This piece, Get Over It!, just sold. This photo is not very good - it's keystoned, but it's the one which shows the color the best. I'm about as good with PhotoShop as I am with the camera, ie not very.

I'm happy to have her go to a new family who will be glad to have her in their midst, but I'm also sorry to see her go. I have a big blank spot on the wall where she hung. There is another one in the same series hanging there: Living Well Is the Best Revenge. I suppose it's an invitation to do another one.

Thursday, January 26, 2006

How Many Irons Do You Have?

As I've gotten older, my definition of "toy" has changed. Dolls used to be toys, yo-yos were toys, but never something like a car, a chainsaw, or an iron. Now, though, think how cool it is to get the car that you want, how much fun it is to drive it around. I gave my husband a chainsaw for Christmas (yes, he is qualified to use it!) and he was thrilled to death. Ok, bad turn of phrase, but you know what I mean. And so I turn to irons. I use my iron everyday in my studio, so it's technically a tool. But I use it so much that it qualifies as a toy, in that it was fun to go buy it.
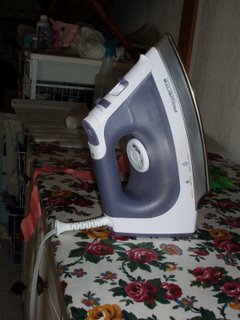
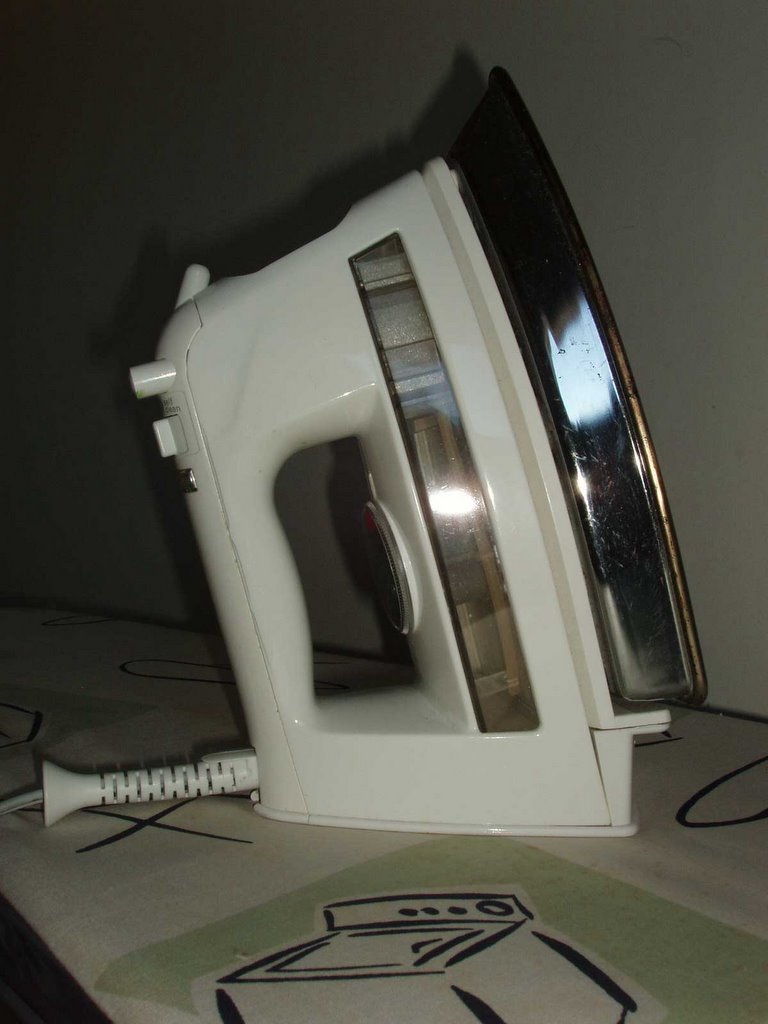
I have three irons. This one I bought recently when I decided I needed automatic shut-off or I would burn the house down. Contrary to popular images, I wasn't loathe to spend money on something as pedestrian as an iron. I was looking forward to seeing what new features, in addition to the auto shut-off, I could have in a new iron. Actually, there weren't any. But it was still fun to go buy it.

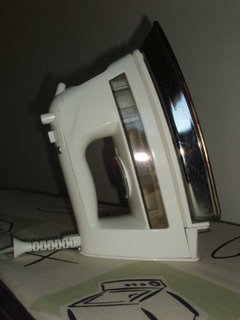
Here is the one it replaced. This is a great iron, but it gets really hot. That makes it good for ironing lengths of fabric and shirts (Ha. Like I'd know.) but not so great for fusing and foiling. And any fabric that had too much finish on it would get scorched easily. So this one has been sent to live out its days in the laundry room, where its auto shut-off lets me have some peace of mind. I only iron clothes in a hurry, which is a recipe for forgetting to turn it off. I actually thought about having the outlet in the laundry room connected to the lightswitch, but I realized that it would be much cheaper to get another iron.


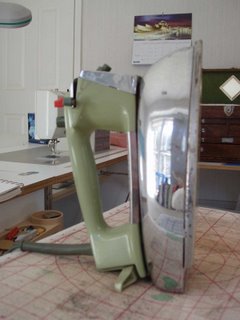
And here is the really old iron. Note the classic avocado green handle, dating it to the seventies. This was my mother's old iron, and I took it when she died. I keep it by the sewing machine for pressing seams and quick things like that, and it's connected to a power strip along with the lights and the machines. I don't worry about leaving it on anymore. And it reminds me of my mother, because once she looked in the laundry basket, took out the heirloom linens and gave all the rest of the stuff to Goodwill because she was sick of ironing it.
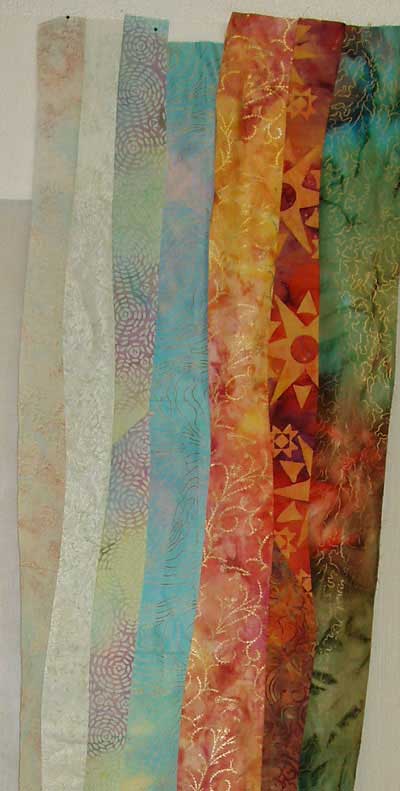
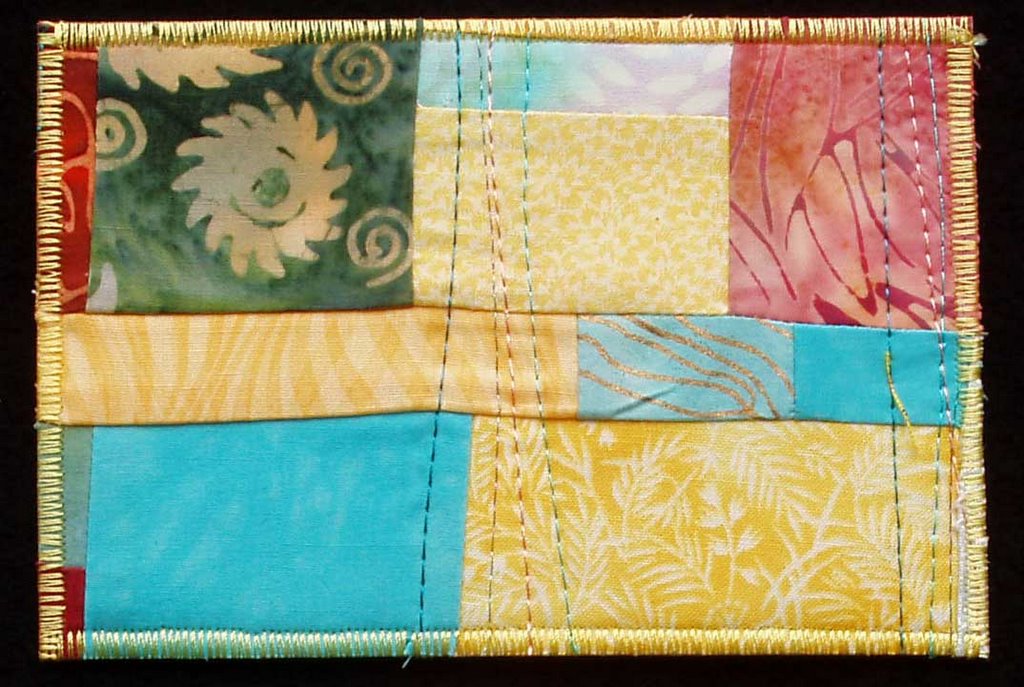
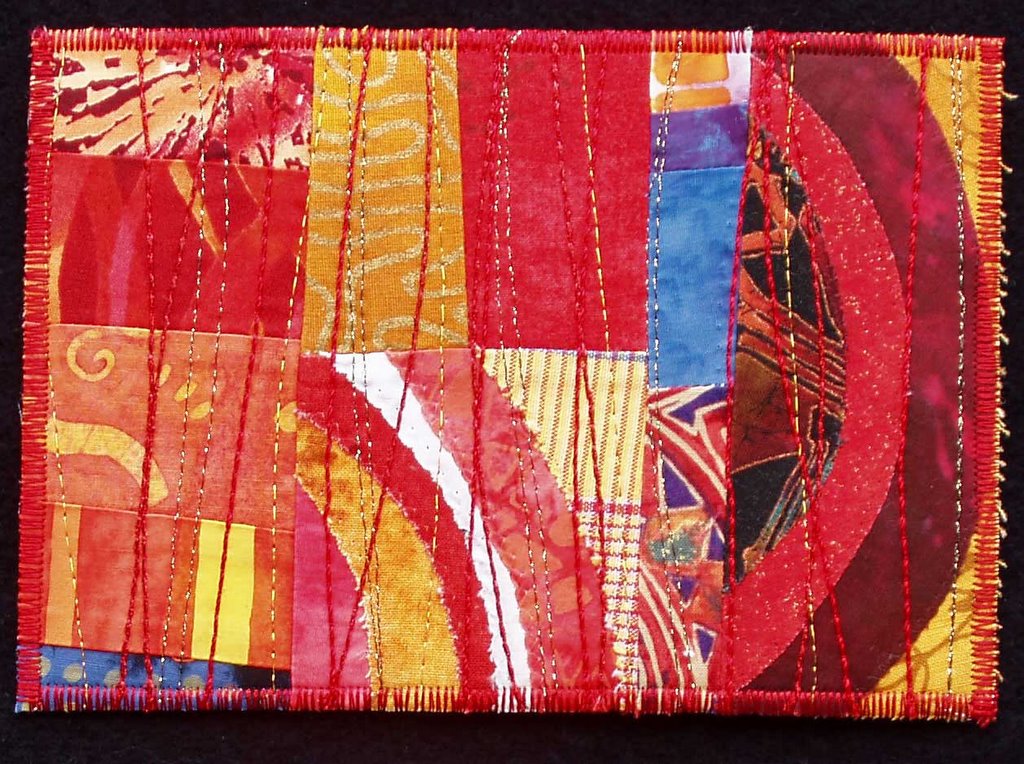
Tuesday, January 24, 2006

Apologies to TS Eliot

Actually, I don't think April is the cruelest month. It's interminable January, with its short grey days and cold nights. Of course, interminable February is right around the corner, with its short grey, wet days, always with the chance of snow. I want to get in bed, pull up the covers and stay there until spring.

Bearing that in mind, you can imagine how tempting it was to go back home this morning after torturing myself at the gym, instead of going to a friend's for lunch with 5 other women. I'm so glad I went. The antidote to January greyness is lots of laughter, with a heathy dose of chocolate on the side. I'm fortunate to have such good friends.

Monday, January 23, 2006

Making a 1/4 inch border, Part 2

These photos describe how to finish making the quarter inch border that I began to describe Friday.

Start this next step by laying the piece with the border attached on top on the new piece. Place the edge of the presser foot against the first seam line.


Sew the seam using the left side of the presser foot as your guide, as it butts against the first seam you sewed.


Here it is! See how even it is? Wasn't that easy?

Friday, January 20, 2006

Making a 1/4 border for your quilt


The other day I showed a friend how to add a 1/4 inch border onto a quilt, neatly and easily. I thought others might like to know how to do this, too.

First, cut border strips 3/4 inch wide. If you need longer strips, trim the ends at a 45 degree angle, so that the seam is angled. A border this narrow can't handle the bulk of butted seams.


Using your quarter inch foot, stitch the border strip onto the quilt.


Iron the seam allowance toward the quilt. This makes the next step mcuh easier.


Here is the skinny border, ironed and ready for the next border to be added this afternoon.

Thursday, January 12, 2006

Another big step


Here I've inserted in the seam an iridescent fabric, cut on the bias, to simulate water. Being directionally impaired, I put it on the wrong side. The dark green/blue fabric was supposed to go on the other side of the light section, so I have to re-do it. When I make mistakes like that, I know it's time to quit for a while.

Auditioning fabric


I was busy today. In these two photos, I was auditioning fabric for the commission I'm working on. The photo on the bottom has the fabrics that won. I'll add another darker piece to the edge when I get all this assembled. But now that I look at it, I like the one on the top better. It's not to late to change it.

Wednesday, January 11, 2006

Latest Work


This is the start of a commission I've been working on for the last several days. I figure if I chart my progress here for the world to see, I'll stay on track! This is essentially the upper right quadrant of the first piece of a diptych. I'm learning a lot about curved seams. I took this photo this morning, and I've made a lot of progress since then. Now I'm goofing off, eating popcorn while the gas man works on the gas fireplace.

I've Been Tagged!

I've been tagged!

four jobs I've had: lifeguard, dental assistant, banker, researcher

four movies I could watch over and over: It's a Wonderful Life; and all the Harry Potter ones

four places I've lived: Richmond, VA; Charlottesville, VA; Akron, OH; Timonium, MD

four tv shows I love to watch: 24; Gray's Anatomy; Six Feet Under; Desperate Housewives

four places I've been on vacation: Italy; Costa Rica; Mexico; Zion National Park, Utah

four websites I visit everyday: www.nancysstudio.blogspot.com; www.fiberstudio.blogspot.com
and that's about it.

four of my favorite foods: egg custard; 1234 cake; coffee ice cream; rack of lamb

four places I'd rather be: Costa Rica; Italy; Jonesborough TN; Timonium, MD

four albums I can't live without: Between Here and Gone, Mary Chapin Carpenter; Desire, Bob Dylan; High Tide and Green Grass, The Rolling Stones; Abby Road, The Beatles

four people I'll pass this on to: everyone I know has already done it.

Mindless sewing


I have been mentally working on a design for a commission, and while I was working the kinks out, I did this. It's just strip piecing, using scraps. As you can see, I used any old scrap! No color scheme for me. It's not sewn together, just pinned to the wall. I like this, even though I don't do bed quilts much. I think I'll give this to my goddaughter when she graduates from high school this spring. I have enough blocks to give one to her sister, too!

Sunday, January 08, 2006

Draw Something You Collect


Here is my EDM challenge for last week: draw something you collect. Well, I don't really collect pitchers, but I have several. This one is white, and the handle really is out of proportion to the body of the pitcher. It's my first attempt at pastels. I'm not happy with the handle because I don't think I got it round, and I think I over worked the bottom.

Boathouse in Lewes, Delaware


We were in Lewes, Delaware this weekend, and while we were rooting around, we saw this little boathouse on the Rehobeth-Lewes Canal. The illusion is all done with the wood - the wall is really as flat as a normal side of a house.

Wednesday, January 04, 2006

These are some postcards I made for Singular Sensations, the holiday art sale sponsored by the Columbia (Maryland) Art Center.

Most of them are 4x6, but the red ones are 5x7. They take letter rate postage.


They make great thank you notes and birthday cards, not to mention get well cards.


I usually make 4 or 5 at a time, adding the fabric to the stiffener before I cut them into postcard sizes.


Then I add the thread to each one. I have a hard time restraining myself. I always figure that enough is never enough, and neither is too much!


They are fun to make, and fun to receive.


And of course, they can be framed. My step-mother keeps her birthday postcard in a frame on the shelf with all the family photos! High praise, indeed.